Marker Annotations
Markers are a way to show data on the map with labels and/or icons.
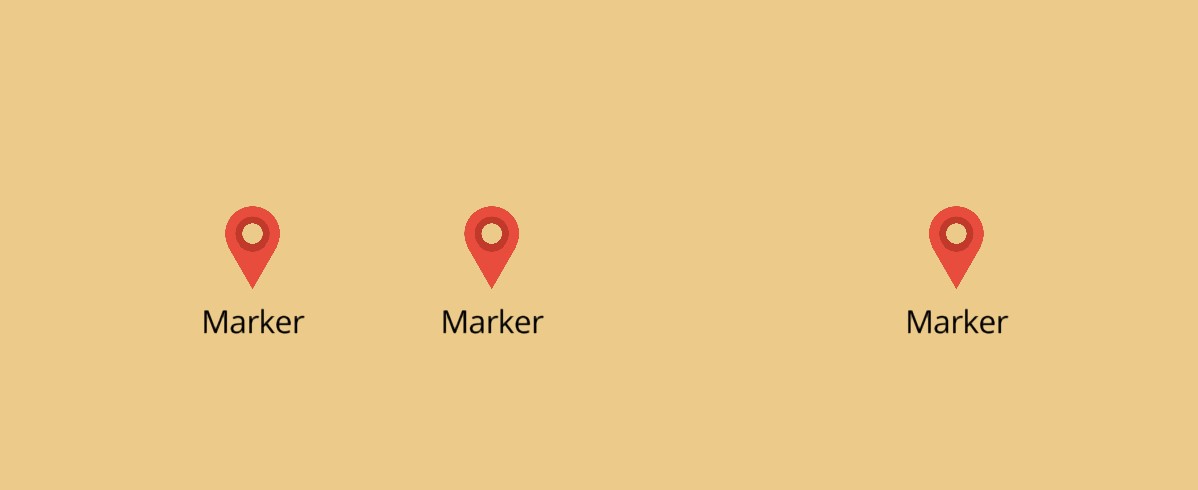
Basic Usage
late final MapController _controller;
Widget build(BuildContext context) {
return MapLibreMap(
options: MapOptions(center: Position(9.17, 47.68)),
onEvent: (event) async {
switch (event) {
case MapEventMapCreated():
_controller = event.mapController;
case MapEventStyleLoaded():
// add marker image to map
final response =
await http.get(Uri.parse(LayersSymbolPage.imageUrl));
final bytes = response.bodyBytes;
await _controller.addImage('marker', bytes);
case MapEventClick():
// add a new marker on click
setState(() {
_points.add(Point(coordinates: event.point));
});
default:
// ignore all other events
break;
}
},
layers: [
MarkerAnnotationLayer(
points: <Point>[
Point(coordinates: Position(9.17, 47.68)),
Point(coordinates: Position(9.17, 48)),
Point(coordinates: Position(9, 48)),
Point(coordinates: Position(9.5, 48)),
],
textField: 'Marker',
textAllowOverlap: true,
iconImage: 'marker',
iconSize: 0.08,
iconAnchor: IconAnchor.bottom,
textOffset: const [0, 1],
),
],
);
}
That's it! You can add multiple MarkerAnnotationLayers with different
properties.
Update
To add, remove or alter annotation layers, just use setState() like you'd do
with Flutter widgets.
Check out the example app if you want to see how things come together.
Style & Layout
The MarkerAnnotationLayer has a lot of parameters you can use for styling.
If you need more powerful customizations for your Markers, you can use the more low level SymbolLayer.